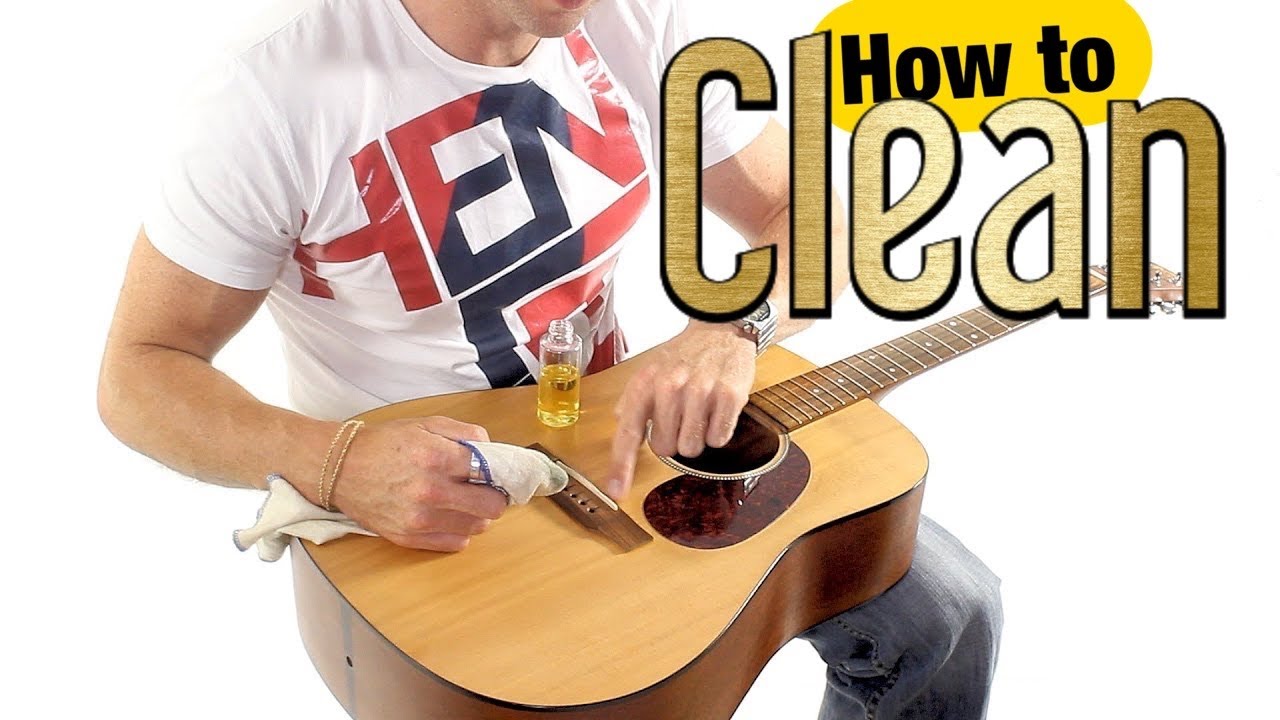
Have you ever wondered what you can use at home to clean your guitar? It’s a common question among guitarists, both new and seasoned. Cleaning your guitar not only maintains its appearance but also extends its lifespan and performance. You don’t have to break the bank with high-end cleaning kits when you can find most of what you need right at home.
Why Cleaning Your Guitar Matters
Before we dive into the “how-tos,” let’s talk about why it’s worth your time to clean your guitar regularly. Imagine the feeling of playing a freshly cleaned guitar—it not only looks good but also feels smoother and sounds better. Dust, grime, and sweat can build up over time, affecting your tone and the instrument’s playability. Cleaning your guitar can also help you catch any minor issues before they become major problems.
The Basics of Cleaning a Guitar
The first thing to understand is that different parts of the guitar require different cleaning methods. Here’s a quick rundown:
| Part | Cleaning Method | Frequency |
|---|---|---|
| Body | Damp cloth, mild soap (if needed) | Weekly or bi-weekly |
| Strings | String cleaner or rubbing alcohol, microfiber cloth | After every playing session |
| Fretboard | Lemon oil or fretboard conditioner | Monthly or as needed |
| Hardware | Metal polish or a damp cloth | Monthly |
Cleaning the Body of Your Guitar
The body of your guitar is the most visible part and thus the one that gets the dirtiest. Here’s how you can clean it effectively with stuff you probably already have at home.
Materials You’ll Need
- A soft, lint-free cloth
- Mild dish soap
- Water
Start by dampening the cloth with a bit of water mixed with a few drops of mild dish soap. Wipe down the body of the guitar, making sure not to get any moisture into the electronic components if your guitar has them. Dry off with another clean, dry cloth. Avoid any household cleaners that contain alcohol or ammonia, as these can damage the finish.
Pro Tip: Old T-Shirts
If you don’t have a soft cloth on hand, an old T-shirt works just as well. Just make sure it’s 100% cotton to avoid scratching the surface.

Strings: The Lifeline of Your Guitar
Your guitar strings are the direct link between your fingers and your instrument. Dirty strings not only sound dull but can also degrade faster.
Cleaning Guitar Strings
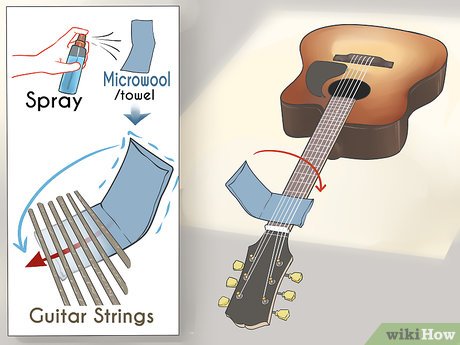
After every playing session, use a microfiber cloth to wipe down each string individually. For a deeper clean, you can use a bit of rubbing alcohol on the cloth to remove oils and dirt. If you’ve got some string cleaner lying around, use that. Just remember to always dry the strings thoroughly to prevent rusting.
Why Instant Coffee Works
Believe it or not, instant coffee makes a fantastic string cleaner. Mix a small amount with water to create a paste and apply it to the strings with a cloth. The mild abrasiveness helps remove grime without damaging the strings. Rinse the strings carefully and dry them immediately.
Fretboard Cleaning
The fretboard sees a lot of action and can gather a fair amount of dirt, sweat, and dead skin cells. Yet, many guitarists overlook this part when cleaning their instrument.
Materials You’ll Need
- Lemon oil or fretboard conditioner
- Fine steel wool (0000 grade)
- Masking tape (optional)
First, you might want to place masking tape over the pickups to keep them free from debris. Use the fine steel wool to gently scrub away any accumulated dirt, being careful to move along the grain of the wood. Once it’s clean, apply a small amount of lemon oil or fretboard conditioner. Wipe off any excess oil with a clean cloth.
The Toothbrush Trick
For hard-to-reach spots, a clean toothbrush works wonders. Just make sure it’s a soft-bristle one to avoid scratching the wood.

Hardware: Shiny and New
Your guitar’s hardware, including the bridge, tuners, and pickups, can also accumulate grime and rust. Cleaning these parts regularly helps maintain your guitar’s overall performance.
Cleaning Guitar Hardware
For metal parts, a bit of metal polish can go a long way. Apply a small amount to a cloth and rub gently to remove any tarnish. If you’re out of metal polish, a damp cloth can also do the trick.
The Pencil Eraser Method
Believe it or not, a regular pencil eraser is great for removing minor rust from metal parts. Just rub the eraser over the rusty areas until they’re clean. Be sure to wipe away any eraser residue afterward.
Final Touches
Now that you’ve given your guitar a thorough cleaning, it’s time for a few finishing touches.
Polish for Shine
A little bit of guitar polish (or a homemade vinegar-water mixture) can give your guitar that glossy, fresh-from-the-factory look. Apply sparingly and buff it out with a lint-free cloth.
Tighten Everything Up
With your guitar clean, it’s a good time to check for any loose screws or parts. Tightening everything up ensures your guitar stays in peak playing condition.
Know When to Replace
Even with the best cleaning habits, guitar strings only last so long. If your strings still sound dull after cleaning, it might be time to replace them. Treat it as a small investment in maintaining a high-quality sound.

Maintaining The Habit
Cleaning your guitar shouldn’t be a one-off task. Make it a habit, and your guitar will thank you for it. Get into the routine of wiping down your guitar after each session, and schedule more thorough cleanings on a weekly or monthly basis.
By using common household items and a little elbow grease, you can keep your guitar looking and sounding great for years to come. Now, isn’t that music to your ears?
Hello, I’m an author for My Guitar Advisor. I love writing about and playing guitar, mainly fingerstyle but dabble into all genres. I hope you enjoy my writing and reviews.
