Have you ever wondered how to improve the playability of your acoustic guitar by lowering its action? Lowering the action on your acoustic guitar can significantly enhance your playing experience, making it easier to press down the strings and navigate the fretboard. This process involves precision and an understanding of your instrument’s anatomy. By following methodical steps, you can often make adjustments yourself, though some situations might require professional intervention. This article aims to meticulously guide you through the nuances of lowering the action on your acoustic guitar, ensuring you achieve optimal playability without compromising sound quality.
Understanding Guitar Action
What is Guitar Action?
Guitar action refers to the distance between the strings and the fretboard. It affects both the playability and the sound of the instrument. High action means the strings are further from the fretboard, making it harder to press them down. Conversely, low action means the strings are closer, which can improve ease of play but may cause fret buzz if too low.
Importance of Proper Action
Having the correct action is crucial for several reasons:
- Ease of Play: Lower action can make chord transitions and finger movements easier.
- Tone Quality: Proper action contributes to the overall tone. Too high or too low action can affect resonance and sustain.
- String Buzz: Incorrect action can cause string buzz, where the strings vibrate against the frets.
Tools You Will Need
Before embarking on adjusting your guitar’s action, you need the right tools for precision and safety:
- Screwdriver (Phillips and flat-head)
- Allen wrenches
- String gauge
- Ruler or action gauge
- Sandpaper (various grits)
- Pencil
- Small file
- Capo
Having these tools at hand will prepare you for the different adjustments you might need to perform.

Step-by-Step Guide to Lowering Action
Step 1: Assessing Current Action
First, determine the current action by measuring the string height at the 12th fret. Use a ruler or action gauge to measure from the top of the fret to the bottom of the string.
| String | Preferred Action (12th fret, in inches) |
|---|---|
| E (high) | 0.06 |
| B | 0.07 |
| G | 0.08 |
| D | 0.09 |
| A | 0.09 |
| E (low) | 0.1 |
These measurements serve as general guidelines. Personal preference and playstyle will also influence the ideal action height.
Step 2: Truss Rod Adjustment
The truss rod adjusts the neck relief, or the curvature of the neck. Use an Allen wrench to turn the truss rod:
- Clockwise: Reduces relief, lowering the action.
- Counter-clockwise: Increases relief, raising the action.
To check neck relief, place a capo on the first fret and press down the 14th fret. Measure the gap at the 7th fret. A gap of about 0.010 inches is typically ideal.
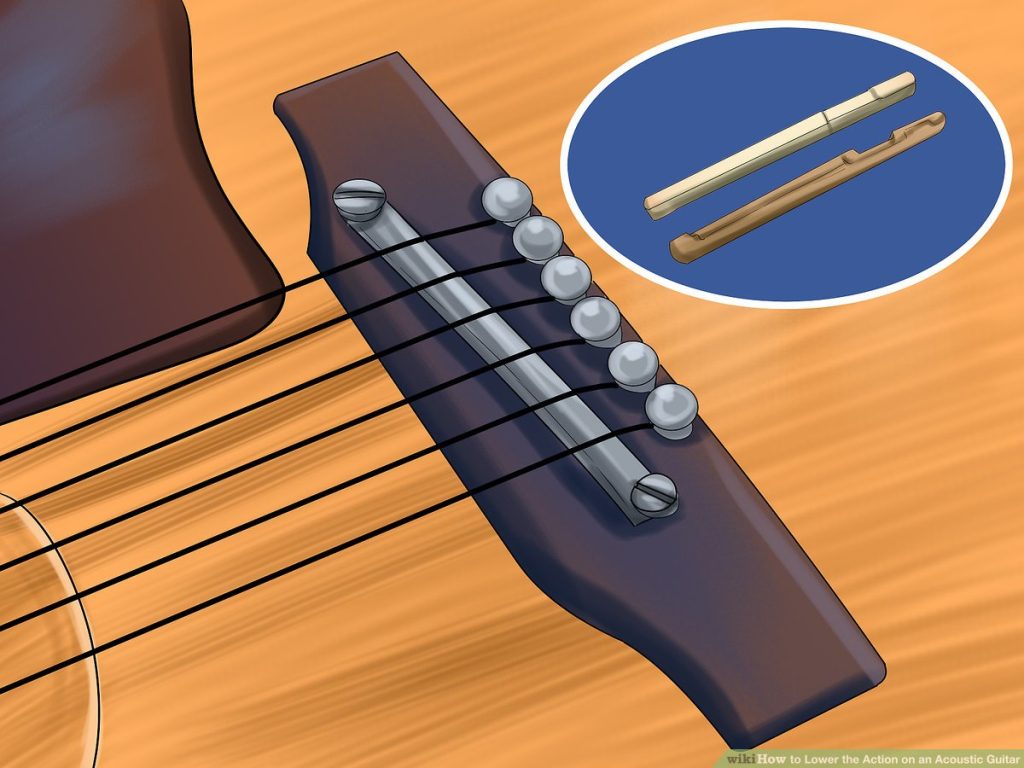
Step 3: Adjusting the Saddle
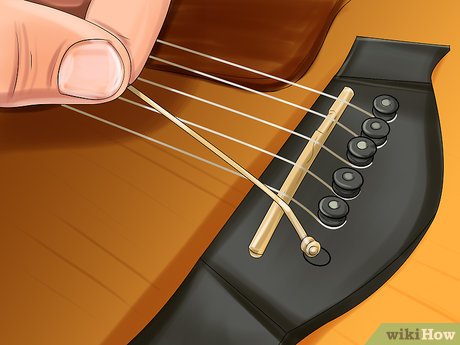
To lower the action at the bridge, the saddle height will need to be corrected. Remove the strings and carefully remove the saddle from the bridge.
Sanding the Saddle
- Mark the Saddle: Mark a line on the bottom of the saddle to indicate how much you want to remove. A pencil line is useful here.
- Sand Evenly: Sand the bottom of the saddle evenly on fine-grit sandpaper, checking frequently to ensure you are removing the correct amount.
- Reinsert the Saddle: Place the saddle back into the bridge and restring the guitar.
Step 4: Nut Slot Adjustment
Adjusting the nut slots can further lower the action, particularly in the lower frets. This step requires precision, as over-filing can cause fret buzz.
- Mark Desired Depth: Mark the desired depth with a pencil.
- Use a Small File: Carefully file each nut slot, ensuring you follow the angle of the headstock.
- Check Depth: Measure the gap between the string and first fret. Aim for a clearance of approximately 0.02 inches.
Step 5: Re-tune and Reassess
After making these adjustments, re-tune your guitar and reassess the action. Play up and down the neck, checking for any buzzing or dead spots.
Professional Adjustment
While many adjustments can be done at home, sometimes professional intervention is necessary. A luthier can perform more complex procedures, such as fret leveling or neck re-shaping, ensuring the best possible playability and sound.

Maintaining Proper Action
Maintaining proper action is an ongoing process. Temperature and humidity can affect your guitar’s neck and body, necessitating periodic adjustments. A good maintenance routine includes:
- Monitoring neck relief regularly.
- Checking for fret wear.
- Inspecting the bridge and saddle periodically.
- Using a humidifier in dry conditions to prevent wood from shrinking and affecting action.
Frequently Asked Questions
What is the Easiest Way to Lower the Action on an Acoustic Guitar?
Adjusting the truss rod is often the simplest initial step. It can quickly affect the overall action by altering the neck relief.
How Do I Know if My Guitar’s Action is Too High?
If you find it cumbersome to form chords or press down strings, especially higher up the neck, these are indicators of high action.
Can Lowering Action Affect the Sound?
Yes, while lowering action improves playability, if done excessively, it can cause fret buzz and loss of tone quality.
Should I Adjust the Action Myself?
Basic adjustments like truss rod and saddle modifications can be done at home with the right tools. However, complex adjustments should be left to a professional to avoid damage.

Conclusion
Lowering the action on your acoustic guitar is a critical process that can greatly improve your playing experience. By understanding the intricacies involved in truss rod adjustments, saddle modifications, and nut slot filing, you can achieve a setup that enhances both playability and sound quality. Regular maintenance will ensure these adjustments remain effective, allowing you to enjoy your instrument to its fullest potential.
This guide provides you with the knowledge needed to take control over your guitar’s setup and make informed decisions regarding its playability. With patience and the right tools, you can transform your playing experience.
Hello, I’m an author for My Guitar Advisor. I love writing about and playing guitar, mainly fingerstyle but dabble into all genres. I hope you enjoy my writing and reviews.
